Table of Contents
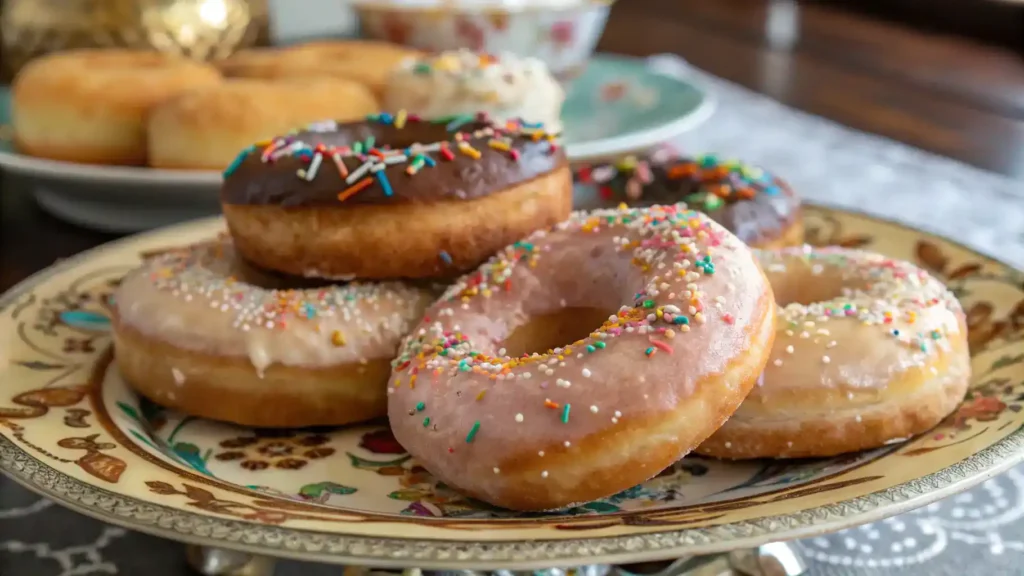
Donuts Recipe: The Ultimate Sweet Treat for Your Cravings!
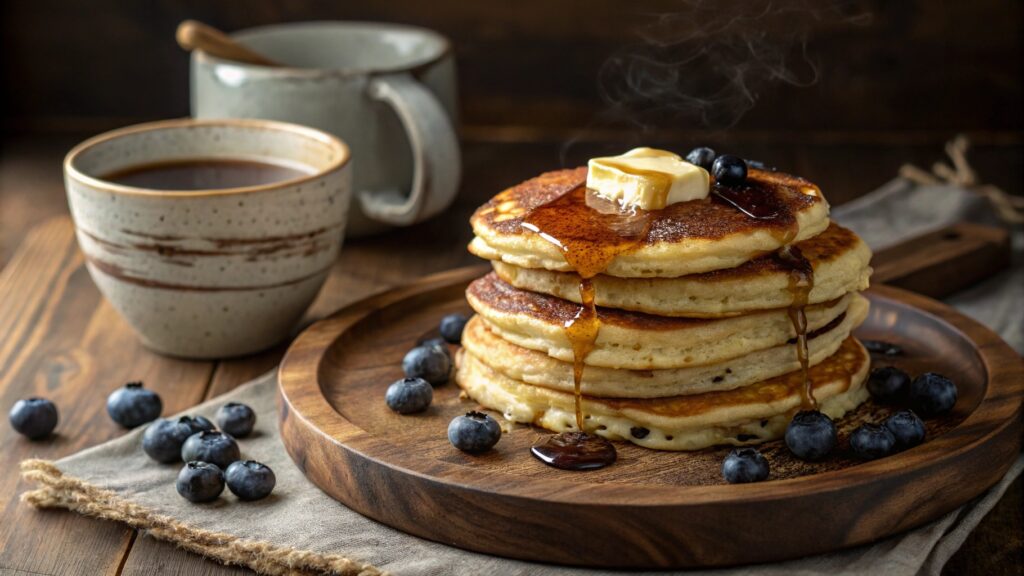
Imagine biting into a warm, fluffy donut, the sweet glaze melting in your mouth as the rich aroma of vanilla and cinnamon dances around you. This donuts recipe is your ticket to a delightful kitchen adventure, where you’ll whisk together simple ingredients to create golden, pillowy treats that are perfect for breakfast or a midday snack. Each bite is a heavenly combination of soft texture and sugary bliss, topped with your favorite sprinkles or a luscious chocolate drizzle. Get ready to indulge your sweet tooth and share these irresistible delights with friends!
Why You’ll Love This Donuts Recipe
- Trust me, you’re going to love this melt-in-your-mouth texture!
- This one’s a game-changer for satisfying your sweet tooth.
- Easy to customize with your favorite toppings and flavors!
- Perfect for sharing (or not, we won’t judge!).
- Whip them up in no time for a delightful treat!
Recipe Snapshot
| Feature | Details |
|---|---|
| Category | Side Dish |
| Cuisine | American-inspired comfort food |
| Prep Time | 10 minutes |
| Cook Time | 15 minutes |
| Total Time | 25 minutes |
| Dietary | Vegetarian |
| Serves | 4 |
| Best Served | Hot and cheesy right off the cob! |
Ingredients
- All-purpose flour – Provides the structure for your donuts.
- Sugar – Adds sweetness and enhances flavor.
- Baking powder – Helps the donuts rise and become fluffy.
- Salt – Balances the sweetness and enhances overall flavor.
- Milk – Adds moisture and richness to the batter.
- Eggs – Binds the ingredients together and adds richness.
- Butter – Adds flavor and a tender texture to the donuts.
- Vanilla extract – Infuses a delightful aroma and flavor.
- Oil – For frying, ensuring a crispy exterior.
Ingredients with measurements will be right under the article in the recipe card.

How to Make the Donuts Recipe
Get ready to whip up some delicious donuts with these easy steps!
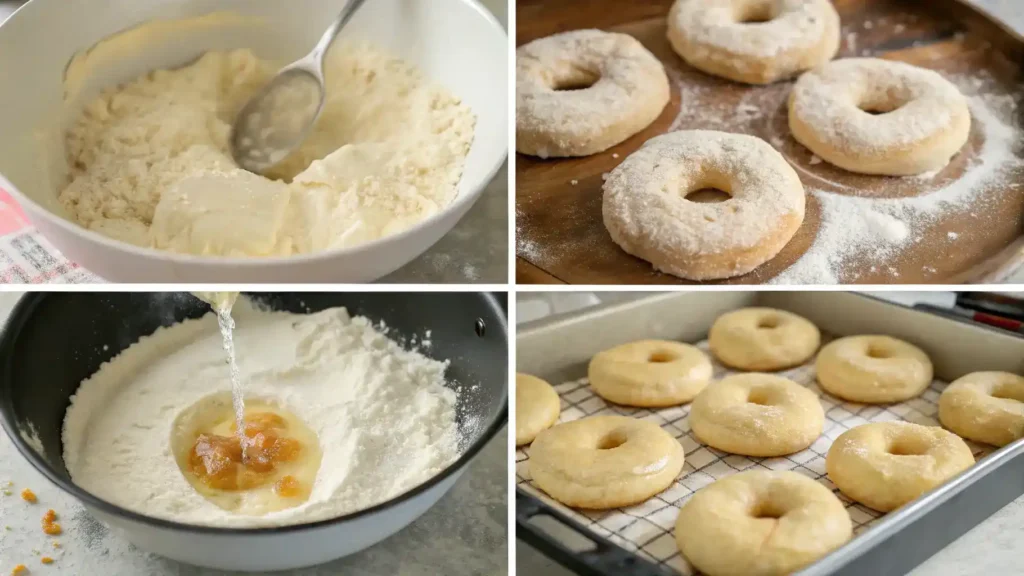
Step 1: Gather Your Ingredients
Collect flour, sugar, yeast, milk, eggs, butter, and a pinch of salt.
Step 2: Activate the Yeast
Warm the milk slightly and mix in the yeast and a teaspoon of sugar. Let it sit until frothy.
Step 3: Mix the Dough
In a large bowl, combine flour, sugar, and salt. Add the yeast mixture, eggs, and melted butter. Stir until a dough forms.
Step 4: Knead the Dough
Turn the dough onto a floured surface and knead for about 5-7 minutes until smooth and elastic.
Step 5: Let It Rise
Place the dough in a greased bowl, cover it, and let it rise in a warm place for about an hour or until doubled in size.
Step 6: Shape the Donuts
Punch down the dough and roll it out to about ½ inch thick. Use a donut cutter to shape your donuts.
Step 7: Second Rise
Place the shaped donuts on a floured baking sheet, cover, and let them rise for another 30 minutes.
Step 8: Heat the Oil
In a deep pot, heat oil to 350°F (175°C). Be careful not to overheat!
Step 9: Fry the Donuts
Fry the donuts in batches for about 1-2 minutes on each side until golden brown. Drain on paper towels.
Step 10: Glaze and Enjoy!
Dip your warm donuts in glaze or sprinkle with powdered sugar. Enjoy your sweet creation!
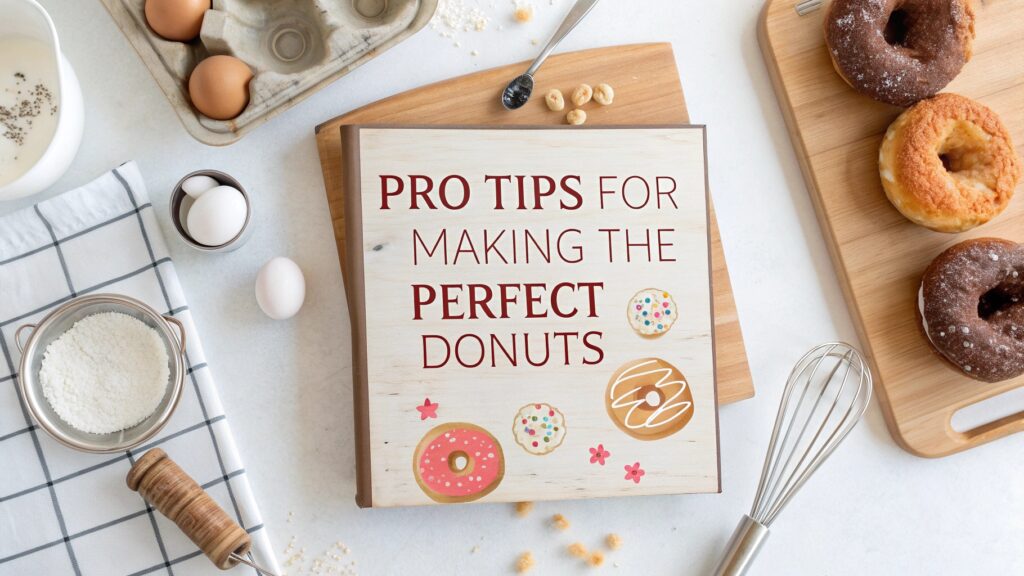
Pro Tips for Making the Donuts Recipe
- Use fresh ingredients for the best flavor and texture.
- Don’t overmix the dough; a gentle hand keeps them light and fluffy.
- Let the donuts cool slightly before glazing for a perfect finish.
- Experiment with different toppings to find your favorite combination.
- Store leftovers in an airtight container to maintain freshness.
How to Serve
- Dust with powdered sugar for a classic touch.
- Drizzle with chocolate or caramel sauce for extra sweetness.
- Pair with a scoop of vanilla ice cream for a delightful dessert.
- Serve alongside a hot cup of coffee or tea for a cozy treat.
- Top with fresh berries for a fruity twist.
- Fill with cream or jam for a surprise inside.
- Offer a variety of glazes and toppings for a fun donut bar.
- Enjoy with a side of whipped cream for dipping.

Make Ahead and Storage
Storing Leftovers
- Allow donuts to cool completely before storing.
- Place them in an airtight container.
- Separate layers with parchment paper to prevent sticking.
- Store at room temperature for up to 2 days.
- For longer storage, refrigerate for up to a week.
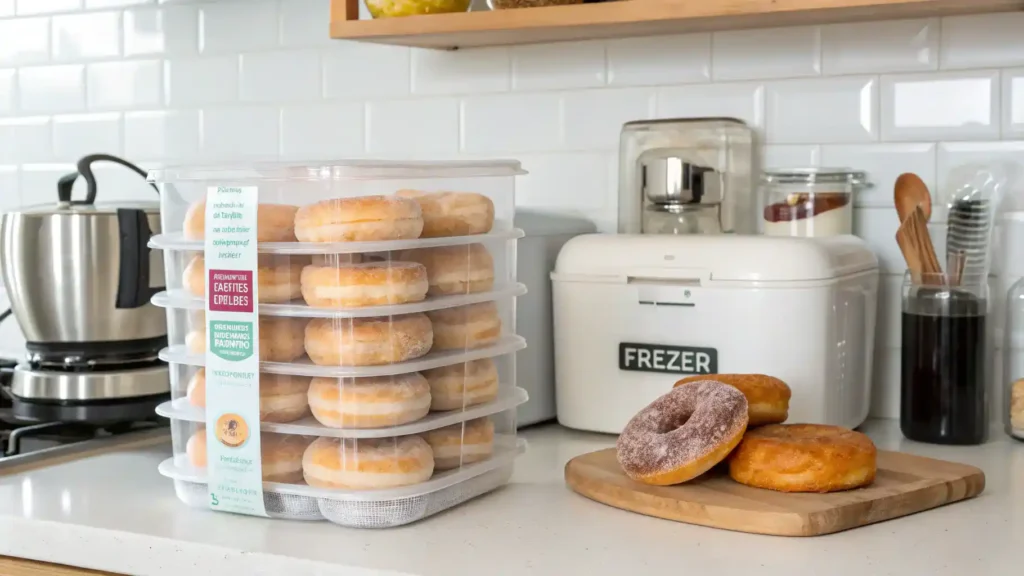
Freezing
- Cool donuts completely before freezing.
- Wrap each donut individually in plastic wrap.
- Place wrapped donuts in a freezer-safe bag or container.
- Label with the date and type of donut.
- Freeze for up to 3 months for best quality.
Reheating
- Thaw frozen donuts in the refrigerator overnight.
- Reheat in the microwave for 10-15 seconds.
- For a crispy texture, warm in the oven at 350°F (175°C) for 5-7 minutes.
- Check frequently to avoid overcooking.
- Enjoy warm for the best taste!
FAQs
Can I use a different type of flour for the donuts?
Absolutely! While all-purpose flour is commonly used, you can experiment with alternatives like whole wheat flour or gluten-free flour blends. Just keep in mind that this may alter the texture and flavor slightly, so adjust your liquids accordingly.
How can I make my donuts fluffier?
To achieve fluffier donuts, ensure your yeast is fresh and active. Also, avoid overmixing the dough and allow it to rise properly. A warm environment helps the yeast work its magic, resulting in light and airy donuts.
What can I use instead of eggs in the recipe?
If you’re looking for an egg substitute, consider using applesauce, mashed bananas, or a flaxseed meal mixture. These alternatives can help bind the ingredients while adding a hint of sweetness to your donuts.
How should I store leftover donuts?
To keep your donuts fresh, store them in an airtight container at room temperature for up to two days. For longer storage, consider freezing them. Just make sure to wrap them well to prevent freezer burn!
Final Thoughts
There you have it—your very own donuts recipe that’s as delightful to make as it is to eat! Picture the warm, sugary goodness melting in your mouth, bringing back sweet memories of childhood. So roll up your sleeves, get those sprinkles ready, and dive into this fun baking adventure. You deserve a treat that’s simple, satisfying, and oh-so-rewarding. Happy baking, friend!