Table of Contents
No Yeast Rolls: The Ultimate Easy and Delicious Recipe!
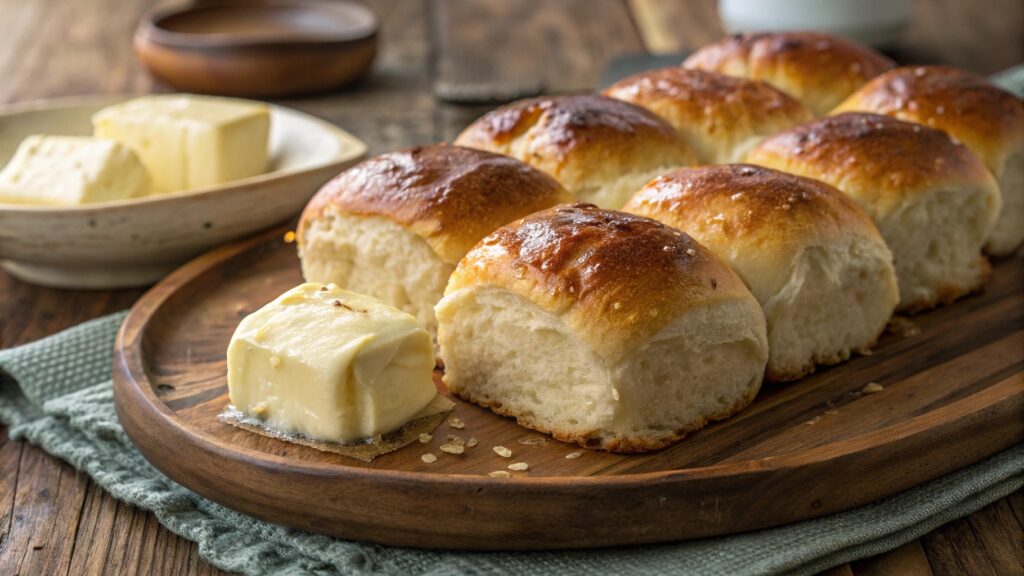
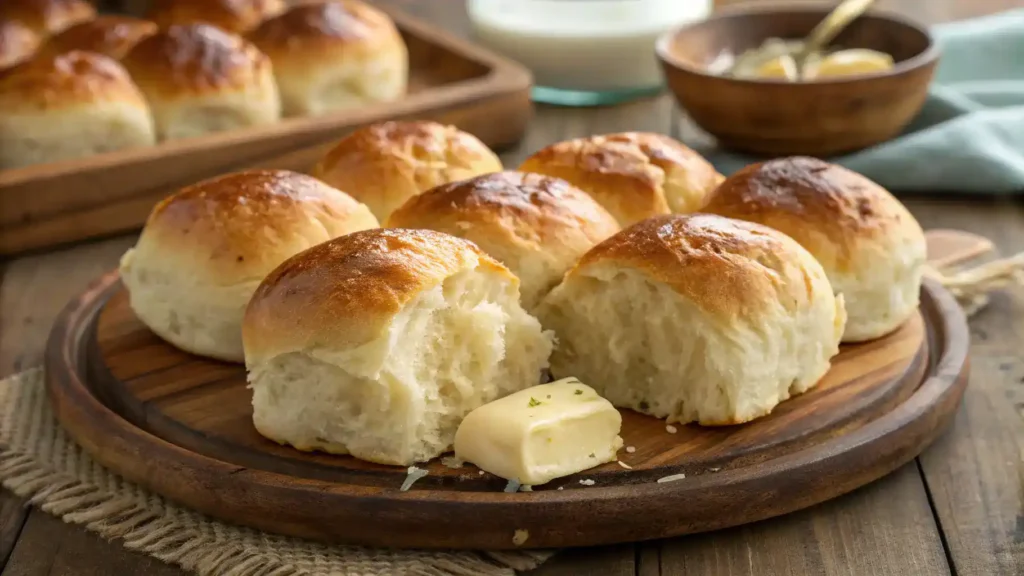
Imagine pulling warm, fluffy rolls from the oven, their golden tops glistening with a hint of melted butter. These no yeast rolls are a game changer—soft, pillowy bites that practically melt in your mouth! With just a handful of simple ingredients, you’ll whip up a batch in no time. The aroma of freshly baked bread will fill your kitchen, inviting everyone to gather around. Perfect for slathering with jam or pairing with your favorite soup, these rolls are not just easy; they’re irresistibly delicious. Get ready to enjoy a warm hug in every bite!
Why You’ll Love This Recipe
- Trust me, you’re going to love this quick prep time!
- No yeast means no waiting around for dough to rise.
- This one’s a game-changer for last-minute gatherings.
- Soft, fluffy rolls that are perfect for any meal.
- Simple ingredients you probably already have at home!
Recipe Snapshot
| Feature | Details |
|---|---|
| Category | Side Dish |
| Cuisine | American-inspired comfort food |
| Prep Time | 10 minutes |
| Cook Time | 15 minutes |
| Total Time | 25 minutes |
| Dietary | Vegetarian |
| Serves | 4 |
| Best Served | Hot and cheesy right off the cob! |
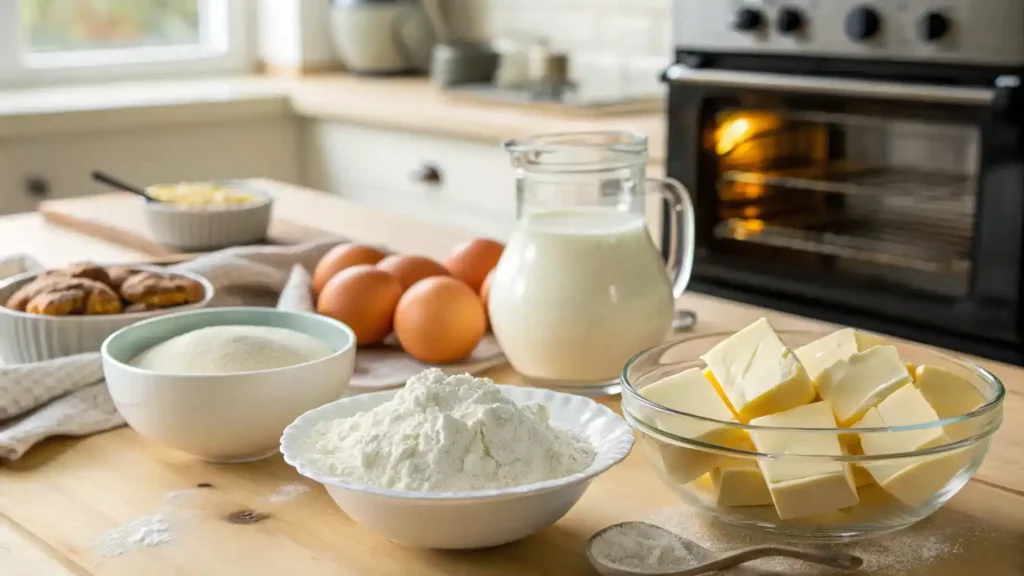
Ingredients
- All-purpose flour – Essential for structure and texture.
- Baking powder – Helps the rolls rise without yeast.
- Salt – Enhances flavor and balances sweetness.
- Sugar – Adds a touch of sweetness and helps with browning.
- Milk – Provides moisture and richness to the dough.
- Butter – Adds flavor and tenderness to the rolls.
- Egg – Binds the ingredients together and adds richness.
Ingredients with measurements will be right under the article in the recipe card.
How to Make the Recipe
Step 1: Gather Your Ingredients
Collect all your ingredients: flour, baking powder, salt, milk, and butter. Make sure everything is fresh and ready to go!
Step 2: Preheat the Oven
Preheat your oven to 425°F (220°C). This will ensure your rolls bake perfectly!
Step 3: Mix Dry Ingredients
In a large bowl, whisk together 2 cups of flour, 1 tablespoon of baking powder, and 1 teaspoon of salt. Mix until well combined.
Step 4: Add Wet Ingredients
Pour in 1 cup of milk and 1/4 cup of melted butter. Stir gently until a soft dough forms. Don’t overmix; a little lumpiness is okay!
Step 5: Shape the Rolls
Turn the dough out onto a floured surface. Knead it gently for about 1 minute. Divide the dough into 8 equal pieces and shape them into balls.
Step 6: Place on Baking Sheet
Arrange the dough balls on a greased baking sheet, leaving a little space between each one. They’ll puff up beautifully!
Step 7: Bake the Rolls
Pop the baking sheet into the oven and bake for 12-15 minutes, or until the rolls are golden brown on top. Your kitchen will smell amazing!
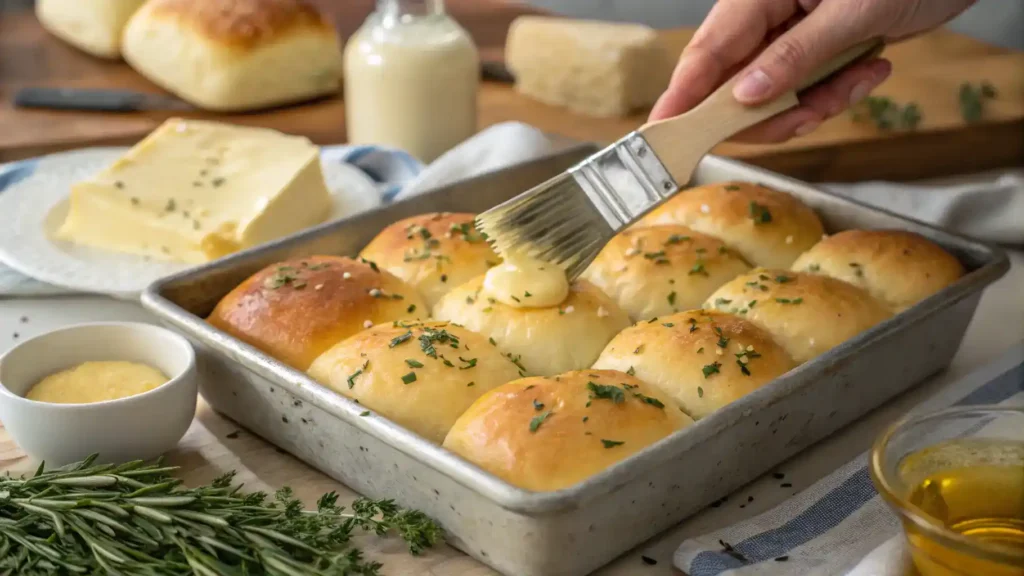
Step 8: Brush with Butter
Once baked, remove the rolls from the oven and brush the tops with melted butter for extra flavor. Yum!
Step 9: Serve and Enjoy
Let the rolls cool slightly before serving. Enjoy them warm with your favorite spread or alongside a delicious meal!
Pro Tips for Making the Recipe
- Use room temperature ingredients for a smoother dough.
- Don’t overmix; combine until just blended for fluffy rolls.
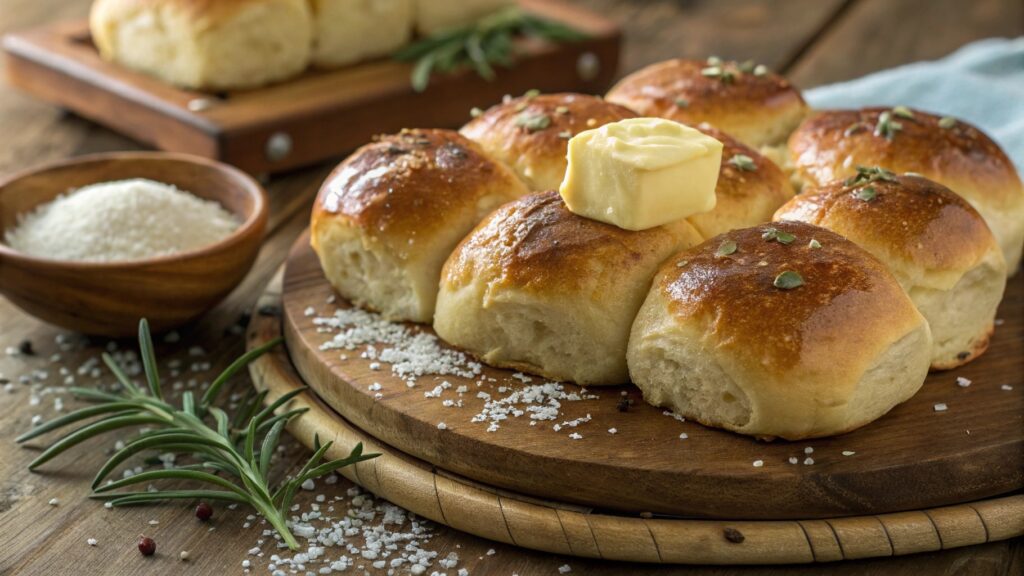
- Experiment with herbs or cheese for added flavor.
- Brush with melted butter right after baking for a golden finish.
- Store leftovers in an airtight container to keep them soft.
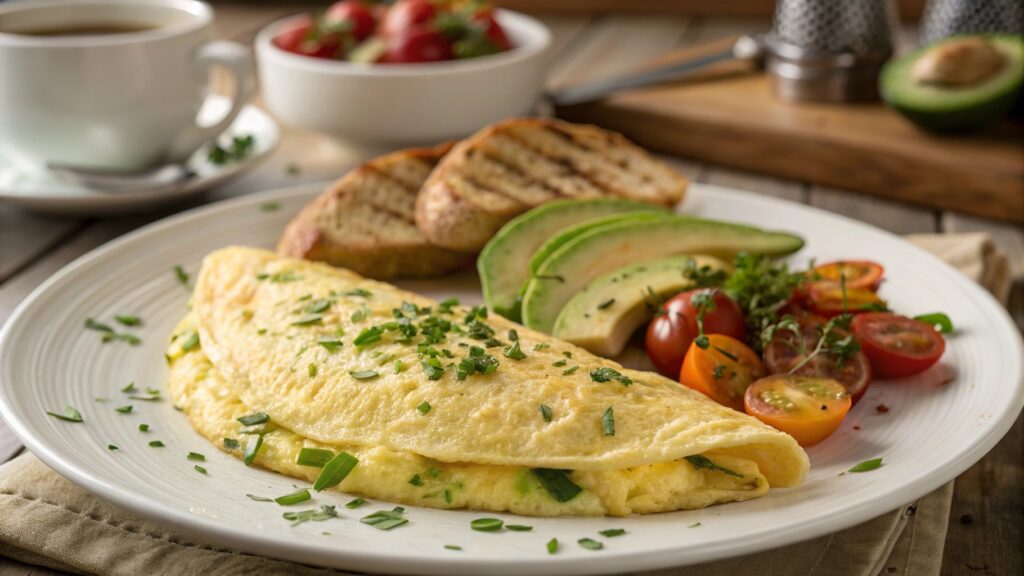
How to Serve
- Slather with butter for a rich, savory treat.
- Pair with your favorite soups for a cozy meal.
- Serve alongside a fresh salad for a light lunch.
- Top with honey or jam for a sweet twist.
- Use as a base for sliders with your favorite fillings.
- Enjoy with a side of garlic herb dip for extra flavor.
- Make mini rolls for a fun appetizer at parties.
- Serve warm with a sprinkle of sea salt for a simple snack.
Make Ahead and Storage
Storing Leftovers
To keep your no yeast rolls fresh:
- Allow rolls to cool completely.
- Wrap them tightly in plastic wrap.
- Place wrapped rolls in an airtight container.
- Store in the refrigerator for up to 3 days.
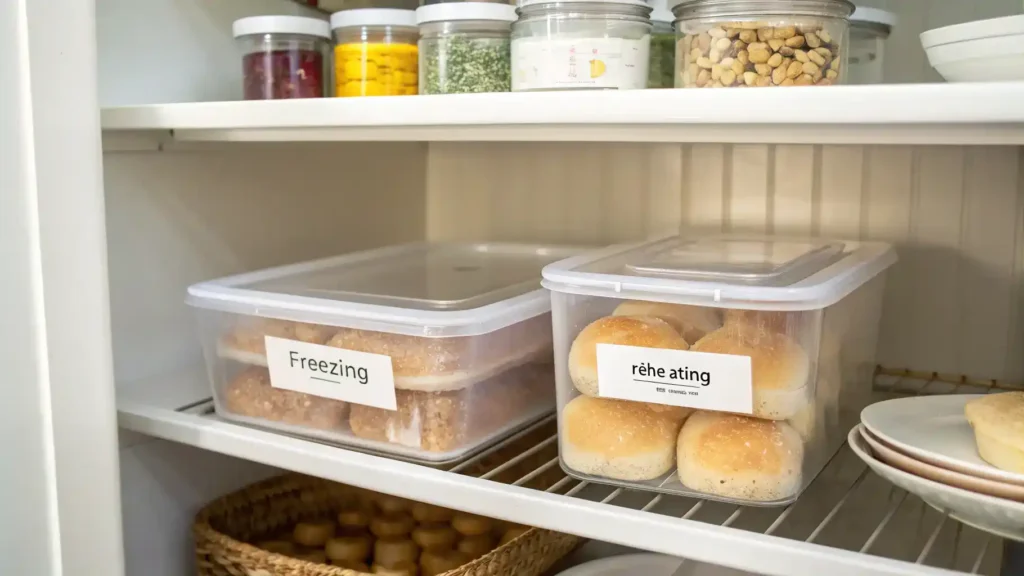
Freezing
For longer storage, follow these steps:
- Cool rolls completely before freezing.
- Wrap each roll individually in plastic wrap.
- Place wrapped rolls in a freezer-safe bag or container.
- Label with the date and freeze for up to 3 months.
Reheating
To enjoy your rolls again:
- Preheat the oven to 350°F (175°C).
- Remove rolls from the fridge or freezer.
- If frozen, let them thaw in the fridge overnight.
- Wrap in foil and heat for 10-15 minutes.
- For a softer texture, add a splash of water before wrapping.
FAQs
Can I use whole wheat flour instead of all-purpose flour?
Yes, you can! Whole wheat flour will give your rolls a nuttier flavor and a denser texture. Just be aware that you may need to adjust the liquid slightly, as whole wheat flour absorbs more moisture.
Whole wheat flour also retains the bran and germ, offering higher fiber and nutrient content.
How do I store leftover no yeast rolls?
Store your leftover rolls in an airtight container at room temperature for up to two days. For longer storage, you can freeze them. Just make sure to wrap them tightly in plastic wrap and then place them in a freezer bag.
Can I add herbs or cheese to the dough?
Absolutely! Adding herbs like rosemary or thyme, or even cheese like cheddar, can elevate the flavor of your no yeast rolls. Just mix them into the dry ingredients before adding the wet ingredients for even distribution.
What can I serve with no yeast rolls?
No yeast rolls pair wonderfully with soups, stews, or salads. They also make a great side for any meal, especially with butter or your favorite spread. Enjoy experimenting with different pairings!
Final Thoughts
There you have it—your new go-to recipe for no yeast rolls! These little delights are not only easy to whip up but also incredibly satisfying. Picture yourself enjoying warm, fluffy rolls fresh from the oven, perfect for any meal or just a cozy snack. So gather your ingredients, roll up your sleeves, and dive into this simple, rewarding baking adventure. Happy baking, friend!